
How to use InstaCropper: frames & shadows.
Keep the character of your instant-film prints, then choose how to present them. This guide covers paper borders, White, Photo and Transparent backgrounds, customizable Drop shadows, color adjustments and several outputs from one photo. For the full import, edit, download and save workflow, read Getting started.
Screenshots show the app’s controls. Select an image to view it larger.
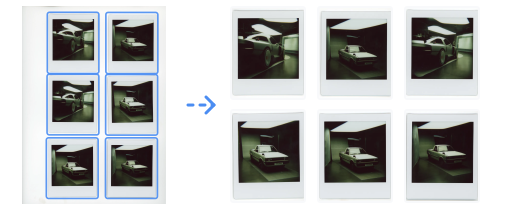
Set up the prints before scanning
- Place prints flat with space between them. Avoid overlapping borders or placing them against the edge of the scan area.
- Include the full white frame, particularly the wider bottom border. Cropping the source too tightly removes pixels you may need later.
- Use a plain background with visible contrast at the paper edges. A white border on a bright background can be harder to separate automatically.
- Check the source scan for glare, dust and uneven shadows. A cleaner source makes it easier to distinguish the paper from the background.
Choose a scan resolution for your intended output and keep the original file. More pixels can preserve more detail, but large scans also use more browser memory.
Separate the instant-film photos
- Add your scan.
Drop the scanned file into InstaCropper or use browse files. You can try a sample scan before working on your own prints.
- Compare the detected photos with the sheet.
Check the number of prints and make sure each crop includes the photo and its full paper frame. If a pair was combined, use Instant crop. Use Review scan and Refine crop to inspect and correct boundaries.
- Review corners, border and shadow.
Look closely at the paper edges in Preview. Check the result after changing paper or shadow settings; the Natural option keeps source-edge details, including the original corners. Strong shadows or faint edges still need review.
- Rotate or frame the photo if needed.
Use the preview controls to straighten orientation or adjust the surrounding background. Keep the original scan so you can revisit the crop.
- Export individual images.
Choose JPG, PNG, WebP or TIFF, then download individually or as a ZIP. Save an
.instproject as well if you want to reopen the scans and edits later. The bottom status distinguishes browser recovery from a downloaded .inst backup and offers Update .inst backup after further edits. - Reverse a setting you do not like.
The main-page Undo / Redo arrows reverse sidebar frame, shadow, white balance and output changes. A slider drag counts as one change, and pending scan settings can be undone before reprocessing. Preview retains its own photo-edit Undo / Redo controls.
Keep the paper border or crop to the picture
The print’s physical paper border and the app’s added background are two different things. Keep Polaroid border in the sidebar controls the paper: on keeps the full print; off crops to the inner picture. This is a shared photo change, so all versions of each affected photo use that choice.
No added frame in the Add output popup, or Photo in the frame-ratio row, controls the extra background. It does not remove a paper border that is already part of the crop. You can therefore download the complete instant-film print with no additional frame.
With None or Drop shadow, the cleaned Instax paper shape uses the small bottom corner cuts, now 1.5 mm along each bottom edge. Natural preserves the corner shape and shadow captured in the scan. These options change the paper presentation; they cannot recover an edge that was missing from the source.
Inspect top and bottom paper edges, corner cuts and the space around the print. Make sure faces and image content have not been clipped. Compare an uncertain result with the original scan and use Refine crop to correct the boundary.
Choose a frame and background
Open an output tile on the main page, then open Frames in Preview. These controls change the opened version. Use the sidebar’s frame controls when you want a consistent change across the project.
| Control | What it does |
|---|---|
| Photo | Uses the photo’s existing shape without an added background. The paper border stays if Keep Polaroid border is on. |
| 1:1, 4:5, 1.91:1 | Adds a background canvas at that width-to-height ratio. 1:1 is square; 4:5 is portrait; 1.91:1 is landscape. The photo is fitted into this canvas. |
| Custom | Enter a positive width:height ratio such as 16:9. This chooses the canvas shape, not a pixel resolution or a new crop of the original scan. |
| White | A plain white background behind the photo. Available with all shadow styles. |
| Photo background | Fills the background from the inner picture, excluding its paper border. It follows the photo’s edits and is available with None or Drop shadow. |
| Transparent | Leaves clear space around the photo at your chosen ratio and margin. It keeps the photo’s paper border and works with every shadow style. Download PNG or WebP to keep transparency; JPG and TIFF use white. |
| Margin | Changes the space around the foreground photo. More margin makes the photo smaller within the frame. A negative margin can enlarge it beyond the frame and clip its edges, so check the preview. |
| Background blur | Softens the Photo background without blurring the foreground photo. The range is 0–10%; the default is 2%. |
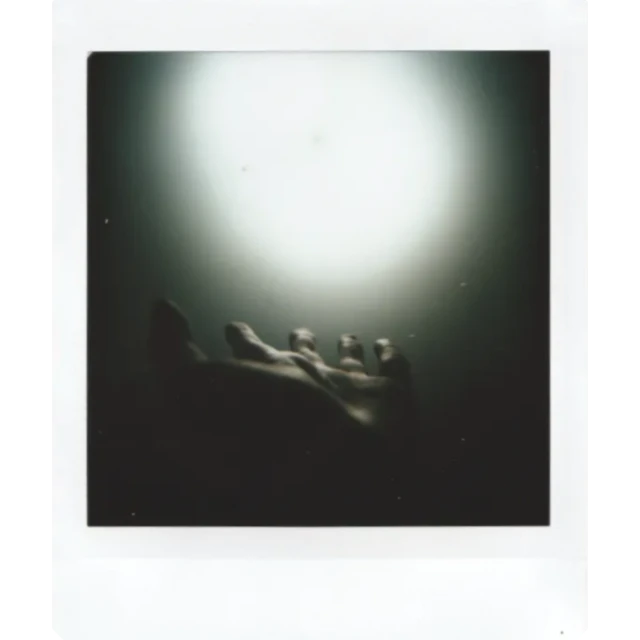
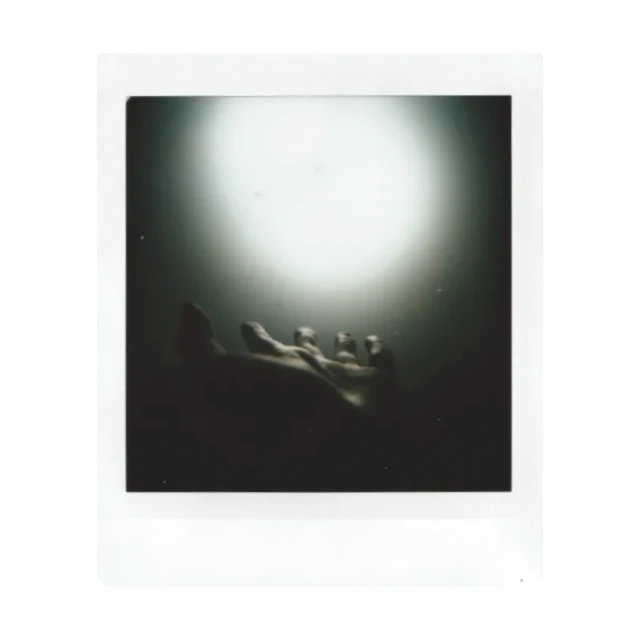
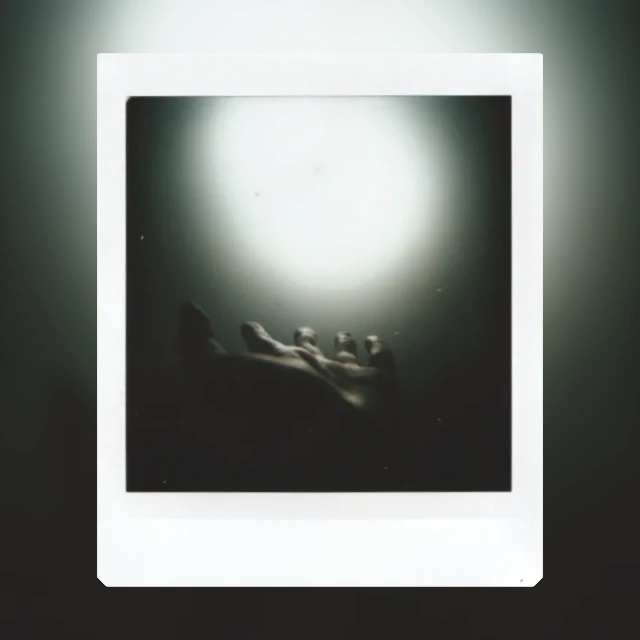
- Start with the background you want.
Choose White for a plain frame, Photo for a background made from the picture, or Transparent for clear space around the photo. Transparent keeps your existing ratio and margin; choose these first and use PNG or WebP when downloading. When Photo is chosen, the app selects a suitable ratio from the inner picture; a square picture starts at 1:1.
- Choose the final ratio.
You can override that starting ratio with 1:1, 4:5, 1.91:1 or Custom. Pick the shape for the place you will use the image, then check the foreground print still fits.
- Adjust margin and blur.
Start at the 6% margin and 2% Photo blur, then move the sliders while watching Preview. Blur is relevant only to Photo background. If you choose Photo in the ratio row, there is no added background to blur or give a margin.
Natural shadow and Photo background: Natural keeps source shading around the paper and uses White or Transparent. Choose None or Drop if you want a Photo background. The app explains the restriction beside the background controls.
Customize a Drop shadow
The Shadow dropdown offers three styles. Drop is the default and adds a customizable shadow around the cleaned paper edge. None removes captured shading around that edge. Choose Natural explicitly to preserve the shadow captured in the source scan.
Choose Drop, then press the settings icon beside the dropdown. The same popup is available in the sidebar and Preview → Frames. Custom settings appear only for Drop and a retained paper border.
| Setting | How to use it |
|---|---|
| X | Horizontal offset. Positive moves the shadow right; negative moves it left. |
| Y | Vertical offset. Positive moves the shadow down; negative moves it up. |
| Blur | Softens the shadow edge. A small value looks sharper; a larger value makes a wider, softer shadow. |
| Spread | Expands or contracts the shadow shape before blur. Positive makes it larger; negative makes it smaller. |
| Color | Press the color swatch to open the app’s picker. Choose Swatches or Spectrum, or type a six-digit hex color. Done applies the choice; Cancel keeps the previous color. You can also enter hex directly in the shadow settings. |
| Opacity | Controls shadow strength from 0% to 100%. Lower values are subtler; 0% makes the shadow invisible. This is separate from the color picker. |
X, Y, Blur and Spread use percentages of the paper’s shorter side. For example, 2% is 20 pixels when that side is 1,000 pixels. This makes a shadow scale with the print in the thumbnail, Preview and full-size export.
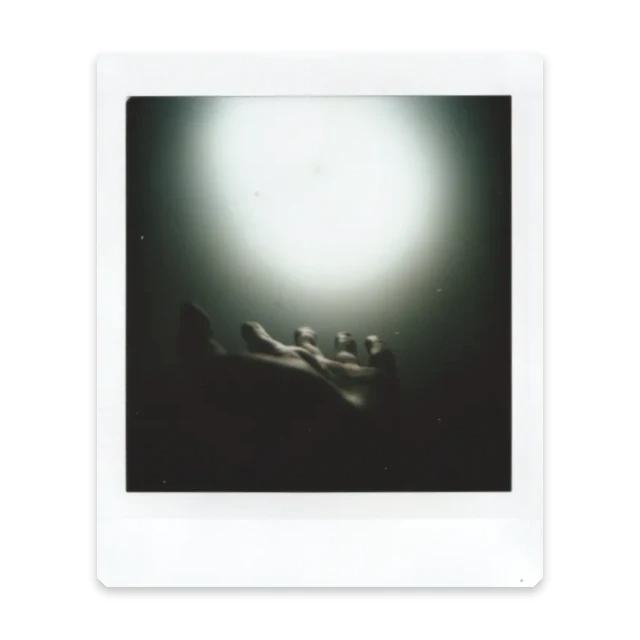
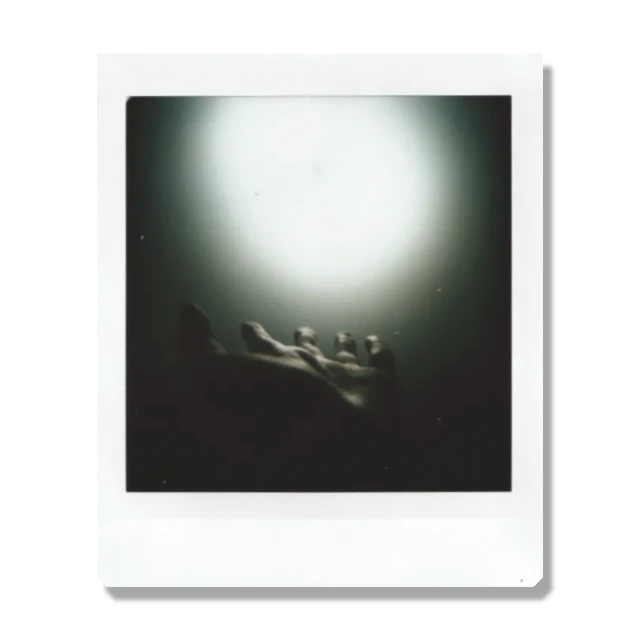
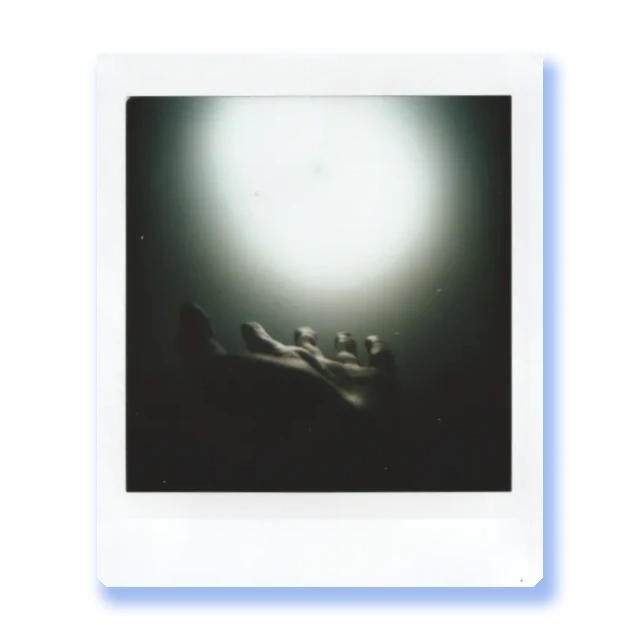
Choose the scope before editing: sidebar shadow settings apply across outputs in the project. Preview’s shadow settings affect only the version currently open. For different shadows on two versions of the same photo, edit each in Preview → Frames.
Edit once, keep several looks
Use Preview → Adjust for the photo’s brightness and white balance. Auto white balance uses the paper whites as a reference; 0% keeps the source color. Preview’s value belongs to the photo and is shared by its outputs. The sidebar white-balance control applies across photos and replaces their individual overrides.
Text and drawings are also shared photo edits. They follow the photo across its versions. If you change a frame, the app maps those layers to the version’s frame geometry. Review the result before downloading, especially after a large crop or margin change.
- Make a clean base photo.
Review the crop, keep or remove the paper border, and adjust brightness and white balance. You can keep editing these later; every version of that photo will update.
- Add a second output from the sidebar.
Select the photo on the main page, then open Shared outputs → Add output. Choose Selected photos and White frame or Photo background, then Add output. Existing versions stay. Repeat to add another look.
- Give each output its own frame.
Open each tile → Frames and set its ratio, background, margin and shadow. For example, keep the original print with no added frame, add a white 1:1 version with a soft Drop shadow, and add a Photo background version for sharing.
- Download and save the project.
Check the output tiles you want to export, then use ZIP, individual files or a contact sheet. Save an .inst as well to keep source scans, shared edits, layers and all output settings. Later browser autosaves update Recent; download another .inst to update your portable copy.
Versions stay grouped as normal photo tiles under one photo name on the main page. You can create outputs for just one photo, several selected photos, or all photos. The shared-output walkthrough explains the photo/group and download checkboxes, and the save guide covers reopening a project.
Common questions
Why does the dropdown say Photo in one place and Photo background in another?
Photo in the frame-ratio row means no extra background canvas. Photo under Background uses the picture to fill an added canvas. Keep Polaroid border separately controls whether the foreground retains the paper border.
Where are the shadow color settings?
Choose Shadow → Drop, then the settings icon beside it. Press Color to use Swatches, Spectrum or hex entry; Done applies it. Opacity stays in the Drop shadow popup. None and Natural do not have custom Drop settings.
Can each output have a different crop or brightness?
Outputs of the same photo share crop, rotation, brightness, white balance, text and drawings. Their frames and shadows can differ. The Add output action creates another presentation of that shared photo; it does not create an independently editable copy.
Why did editing in the sidebar change more than one output?
Sidebar frame and shadow controls are project-wide controls. To customize just one version, open that output tile and use Preview → Frames.
Can I keep the white Polaroid or Instax frame?
Yes. Include the complete frame in your source scan, leave Keep Polaroid border on, and check that the crop surrounds the paper. No added frame still keeps this paper border. Review Preview before exporting.
Does scanning restore colors that have faded?
Scanning records the print as it appears. Color adjustments can change its appearance, but they cannot reliably recover detail or original colors that are no longer present.
Are my scans uploaded for processing?
Normal detection, editing and exporting run locally in your browser. A photo preview is sent only if you opt to attach it to a bug report. Browser saves stay on that device and browser; download a project for a separate backup.
Keep the whole print.
Separate your instant-film photos and check every paper edge.